Difference between revisions of "WISE-PaaS/OTA Agent"
Yinghui.yin (talk | contribs) |
Yinghui.yin (talk | contribs) |
||
| (36 intermediate revisions by the same user not shown) | |||
| Line 7: | Line 7: | ||
== Installation == | == Installation == | ||
| − | <span style="font-family: times new roman,times,serif;"><span style="font-size: medium;">''Double click"OTAClient.exe" to execute the installation program of OTA Client:''</span></span> | + | <span style="font-family: times new roman,times,serif;"><span style="font-size: medium;">''Double click"OTAClient.exe" to execute the installation program of OTA Client:''</span></span> [[File:Clientinstall1.png|center|460x338px|clientinstall.png]] <span style="font-family: times new roman,times,serif;"><span style="font-size: medium;">''Choose installation folder:''</span></span> [[File:Clientinstall2.png|center|460x338px|clientinstal2.png]]<span style="font-family: times new roman,times,serif;">'' Choose ''<span style="font-size: medium;">''installing module:''</span></span> [[File:Clientinstall3.png|center|460x338px|clientinstal3.png]] |
| − | <span style="font-family: times new roman,times,serif;"><span style="font-size: medium;">'' | + | <span style="font-family: times new roman,times,serif;"><span style="font-size: medium;">''Start installing.''</span></span> |
| − | + | [[File:Clientinstall4.png|center|460x338px|clientinstal4.png]] | |
| − | <span style="font- | + | ''<span style="font-size: medium;"><span style="font-family: times new roman,times,serif;">Install completed.</span></span>'' |
| + | |||
| + | [[File:Clientinstall5.png|center|460x338px|clientinstal5.png]] | ||
<span style="font-family: times new roman,times,serif;"><span style="font-size: medium;">''Configure the server IP with OTA Client Tool.''</span></span> | <span style="font-family: times new roman,times,serif;"><span style="font-size: medium;">''Configure the server IP with OTA Client Tool.''</span></span> | ||
| − | + | [[File:Otaclienttool.png|left|otaclienttool.png]] | |
| + | |||
| + | |||
| + | |||
| + | | ||
== Uninstallation == | == Uninstallation == | ||
| − | <span style="font-family: times new roman,times,serif;"><span style="font-size: medium;">''Double click" | + | <span style="font-family: times new roman,times,serif;"><span style="font-size: medium;">''Double click"unins000.exe" to execute the uninstallation program of OTA Client from the installer folder:''</span></span> |
| + | |||
| + | [[File:Clientuninstall1.png|center|936x197px|clientuninstall1.png]] | ||
<span style="font-family: times new roman,times,serif;"><span style="font-size: medium;">''Confirm Uninstalling''</span></span> | <span style="font-family: times new roman,times,serif;"><span style="font-size: medium;">''Confirm Uninstalling''</span></span> | ||
| − | <span style="font-family: times new roman,times,serif;"><span style="font-size: medium;"></span></span> | + | [[File:Clientuninstall2.png|center|534x193px|clientuninstall2.png]] |
| + | |||
| + | <span style="font-family: times new roman,times,serif;"><span style="font-size: medium;">''Start uninstalling''</span></span> | ||
| + | |||
| + | [[File:Clientuninstall3.png|center|460x338px|clientuninstall3.png]] | ||
| + | |||
| + | <span style="font-family: times new roman,times,serif;"><span style="font-size: medium;">''Uninstall completely''</span></span> | ||
| + | |||
| + | [[File:Clientuninstall4.png|center|500x212px|clientuninstall4.png]] | ||
= Main Function = | = Main Function = | ||
| Line 31: | Line 47: | ||
== Connect to OTA Server == | == Connect to OTA Server == | ||
| − | == | + | ''<span style="font-size: medium;"><span style="font-family: times new roman,times,serif;">After installing the OTA Client.you can use the OTA Client Tool to set the server IP address or domain name. It looks like this:</span></span>'' [[File:Otaclienttool1.png|center|otaclienttool1.png]] ''<span style="font-size: medium;"><span style="font-family: times new roman,times,serif;">Connect the OTA server through IP address.</span></span>''<span style="font-size: medium;">[[File:Clienttool2.png|center|otaclienttool2.png]] ''<span style="font-size: medium;"><span style="font-family: times new roman,times,serif;">Connect the OTA server through domain name and the server port will be ignored in this mode:</span></span>''</span> |
| + | |||
| + | <span style="font-size: medium;">[[File:Clienttool3.png|center|otaclienttool3.png]]</span> | ||
| + | |||
| + | <span style="font-size: medium;">''<span style="font-size: medium;"><span style="font-family: times new roman,times,serif;">If you don't know how to config the ota server to DNS, please reference the following link:</span></span>''</span> | ||
| + | |||
| + | *[[Create_and_configure_the_DNS_server|Create and configure the DNS server]] | ||
| + | |||
| + | <span style="font-size: medium;">''<span style="font-size: medium;"><span style="font-family: times new roman,times,serif;">After the client connects to the OTA server successfully, the icon for the small computer will turn green. All the connected device will be displayed on the device management page in OTA server, and the device information will be saw from the server side.</span></span>''</span> | ||
| + | |||
| + | [[File:Deviceinfo.png|center|1285x624px|deviceinfo.png]] | ||
| + | |||
| + | == Auto Deploy According to the Custom Event == | ||
| + | |||
| + | WISE-PaaS/OTA Agent supports auto deploy when device restart. | ||
| + | |||
| + | == Back up & Roll-back for WISE-PaaS/OTA == | ||
| + | |||
| + | More about backup and roll-back for WISE-PaaS/OTA, please reference the follow link: | ||
| + | |||
| + | *[[Backup&Roll-back_for_WISE-PaaS/OTA|Backup&Roll-back for WISE-PaaS/OTA]] | ||
| + | |||
| + | | ||
| − | + | | |
= Document = | = Document = | ||
Latest revision as of 10:06, 27 December 2016
Contents
Introduction
The OTA Agent application running on the target device to communication with WISE-PaaS/OTA Server using MQTT. It can download and deploy the OTA package automatically when you send the command or set the schedule to execute download and deploy task.
Installation & Uninstallation
Installation
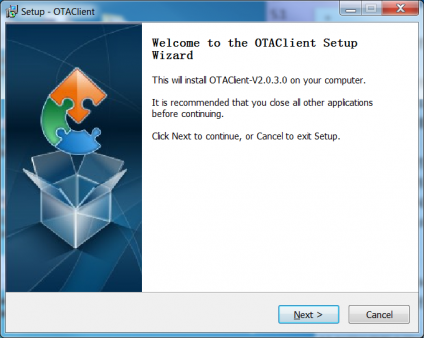
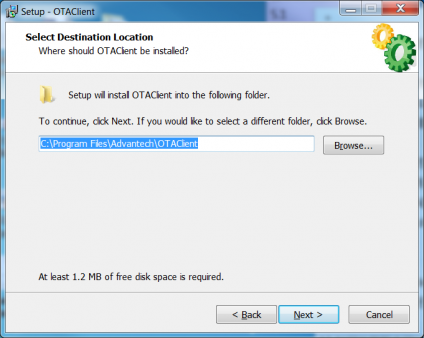
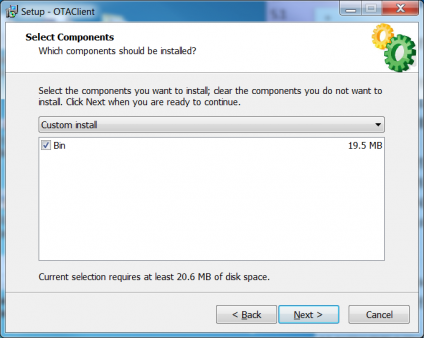
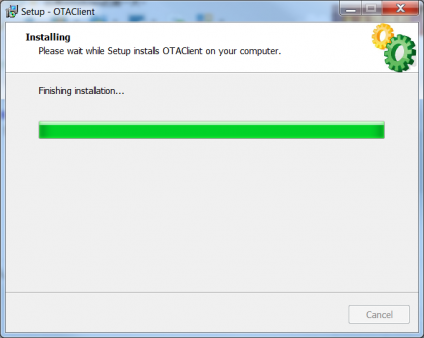
Double click"OTAClient.exe" to execute the installation program of OTA Client: Choose installation folder: Choose installing module:Start installing.
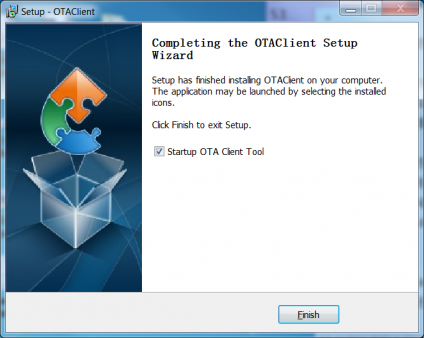
Install completed.
Configure the server IP with OTA Client Tool.
Uninstallation
Double click"unins000.exe" to execute the uninstallation program of OTA Client from the installer folder:
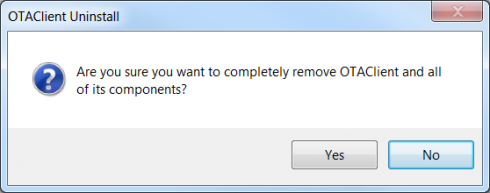
Confirm Uninstalling
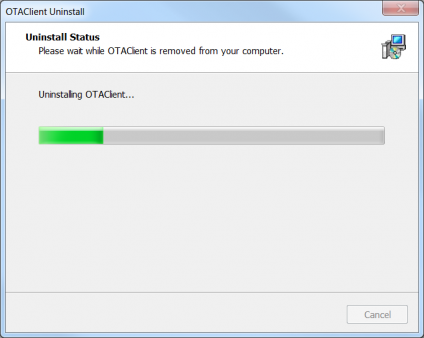
Start uninstalling
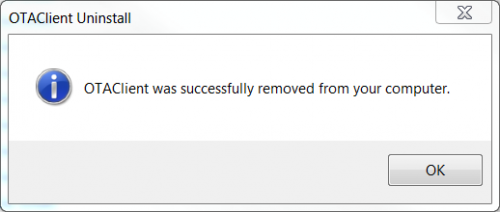
Uninstall completely
Main Function
Connect to OTA Server
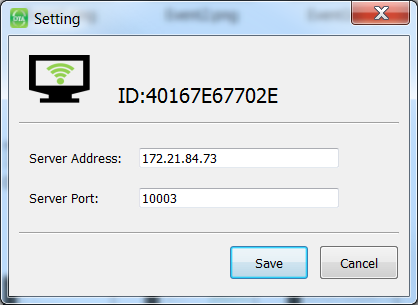
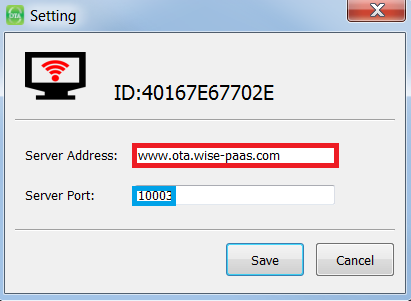
After installing the OTA Client.you can use the OTA Client Tool to set the server IP address or domain name. It looks like this: Connect the OTA server through IP address. Connect the OTA server through domain name and the server port will be ignored in this mode:If you don't know how to config the ota server to DNS, please reference the following link:
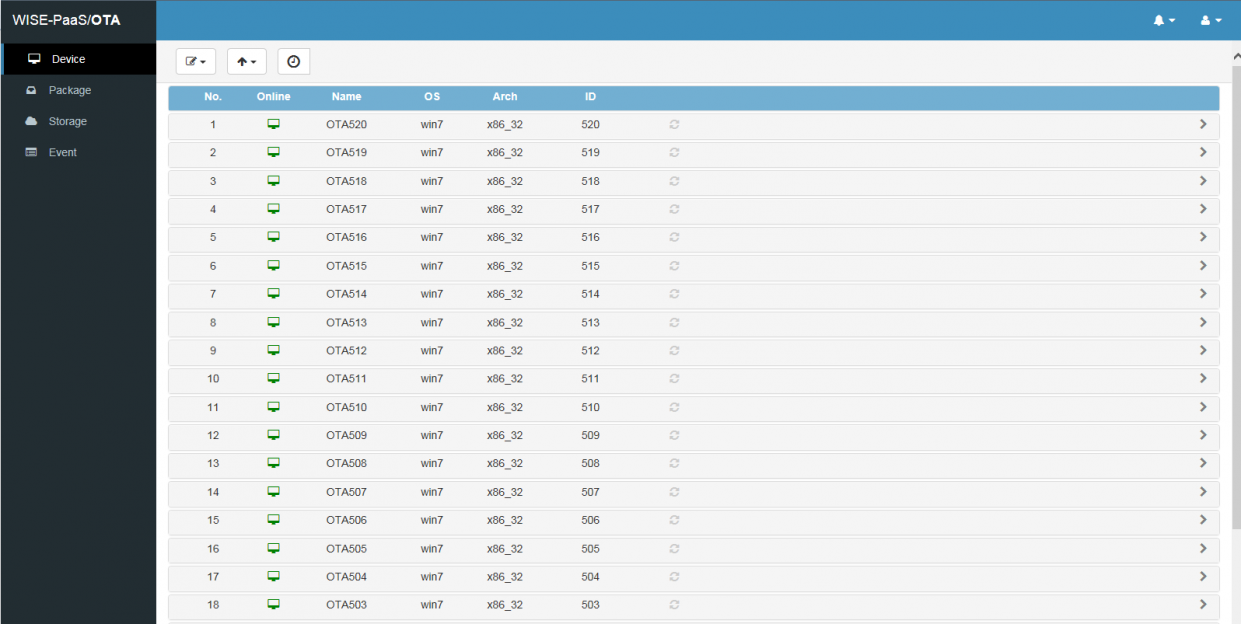
After the client connects to the OTA server successfully, the icon for the small computer will turn green. All the connected device will be displayed on the device management page in OTA server, and the device information will be saw from the server side.
Auto Deploy According to the Custom Event
WISE-PaaS/OTA Agent supports auto deploy when device restart.
Back up & Roll-back for WISE-PaaS/OTA
More about backup and roll-back for WISE-PaaS/OTA, please reference the follow link:
