Difference between revisions of "Using AndroidTool."
From ESS-WIKI
Xingxing.li (talk | contribs) |
Xingxing.li (talk | contribs) |
||
| Line 48: | Line 48: | ||
[[File:ROM-5880 RKTool MASKROM.png|800x600px]] | [[File:ROM-5880 RKTool MASKROM.png|800x600px]] | ||
| + | |||
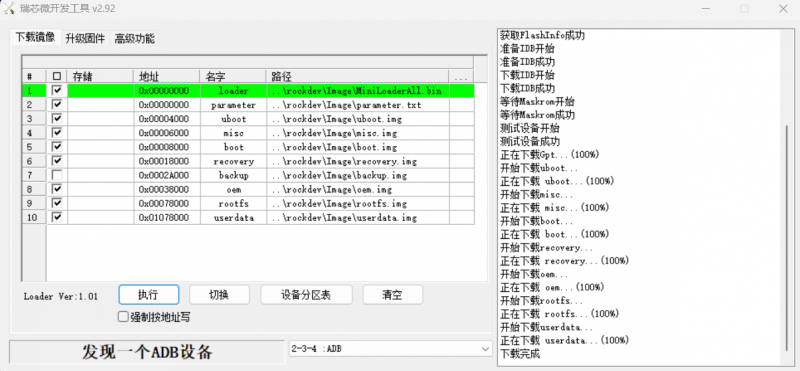
=== '''Step 6 烧录完成后,如下图''' === | === '''Step 6 烧录完成后,如下图''' === | ||
| − | [[File:ROM-5880 RKTool | + | [[File:ROM-5880 RKTool ADB.png|800x600px]] |
Revision as of 02:17, 28 August 2023
Contents
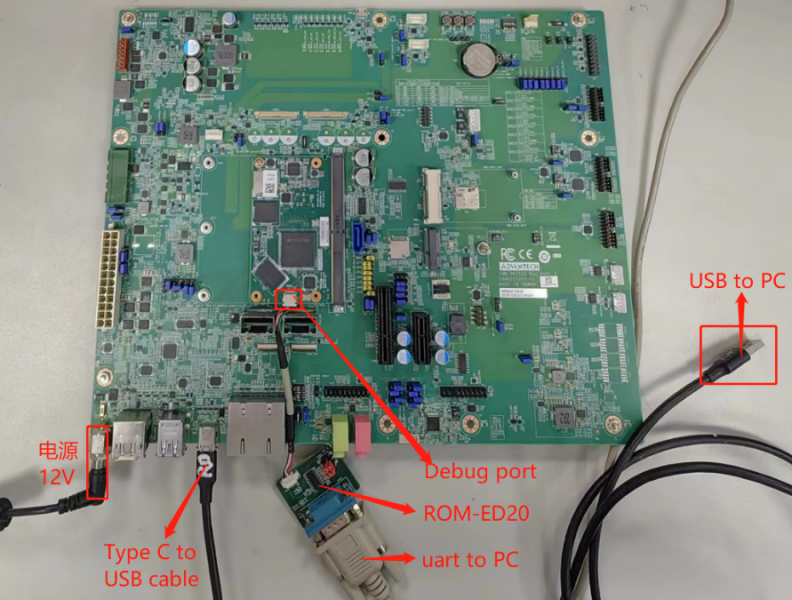
Step 1 List
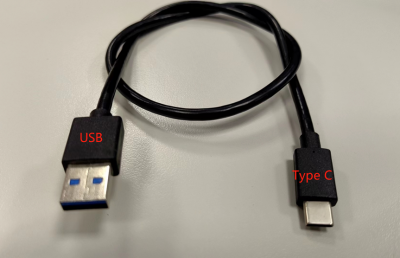
a) 一根Type_C to USB的cable(USB3.0)
b) 一个12V,3A的电源,给底板SOM-DB2510供电使能
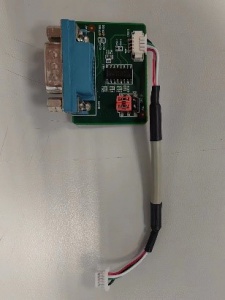
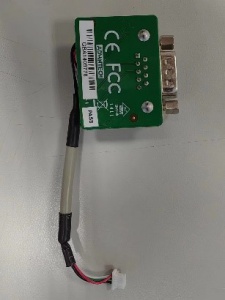
c) 一个debug 小板&cable -ROM-ED20(研华料号:19A2ED2000-01)
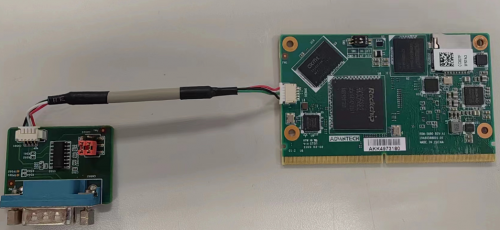
Step 2 架设环境如下:
Step 3 Enter into MASKROM mode
When the device boot up to android or debian, you can use ADB or Debug console, send command "reboot loader" .
Or Press "ctrl + c" key when booting into uboot, until get the following information on debug console :
Android 7.1:
Hit any key to stop autoboot: 0
rkboot # <INTERRUPT>
rkboot # loader
Debian 9.x:
Hit any key to stop autoboot: 0
rkboot # <INTERRUPT>
rkboot # rbrom
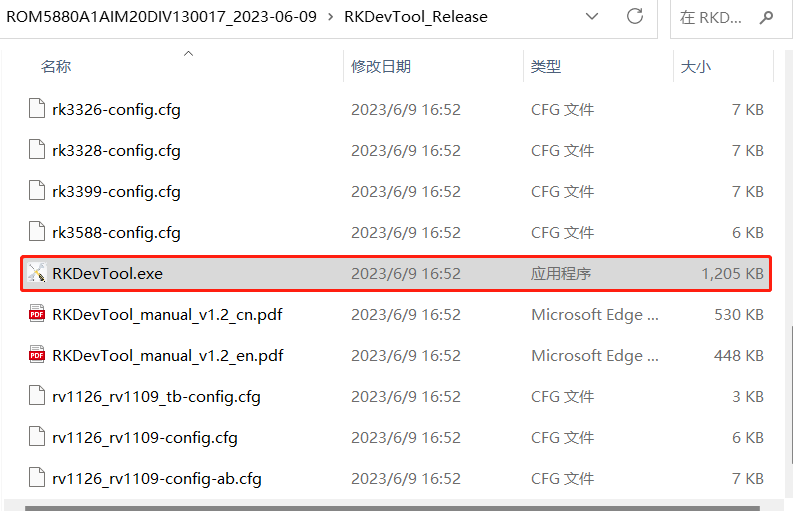
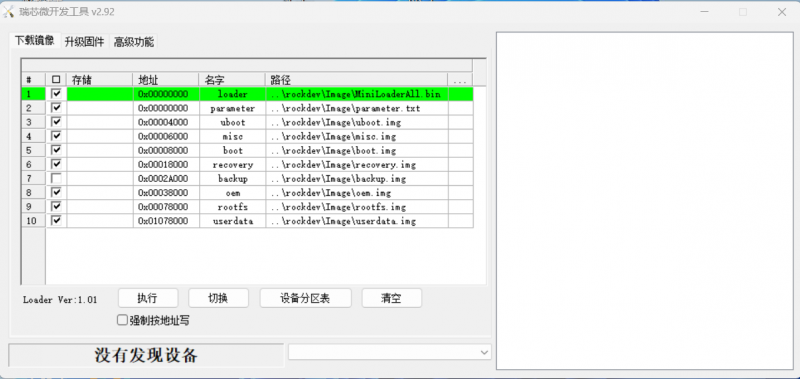
Step 4 电脑鼠标双击瑞芯微开发工具V2.92应用程序
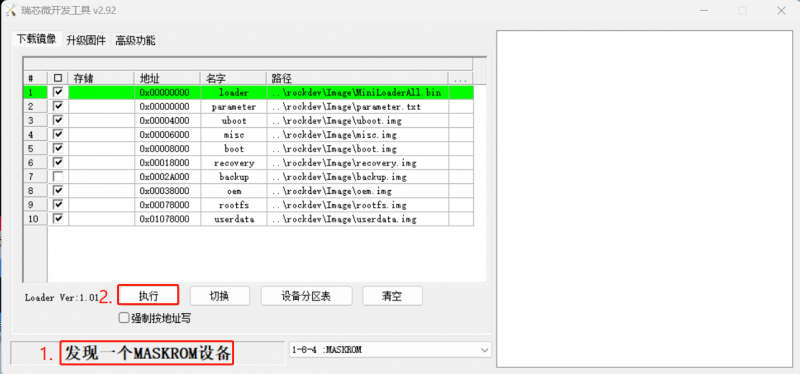
Step 5 当核心板进入MASKROM模式后,再点击“执行”开始进行烧录
