Difference between revisions of "ROM-2860 user guide"
| (One intermediate revision by the same user not shown) | |||
| Line 182: | Line 182: | ||
'''[[File:ROM-2860 PCAT Select UFS File Download status 100.png|RTENOTITLE]]''' | '''[[File:ROM-2860 PCAT Select UFS File Download status 100.png|RTENOTITLE]]''' | ||
| + | |||
| + | === <span style="background-color:#ffff00;">12. When you finish the download process , please change the switch. </span> === | ||
| + | |||
| + | === <span style="background-color:#ffff00;"> </span>'''<span style="background-color:#ffff00;">Flash UFS: the SW1 switch to 1-off, 2-off Forced Recovery : The SW2 switch to 1-on ,2 - on . </span>''' === | ||
=== '''Flash eMMC''' === | === '''Flash eMMC''' === | ||
Latest revision as of 02:14, 12 December 2024
Contents
產品介紹
產品特性(Features)
- Qualcomm Arm® v8 Cortex® Gold plus up to 2.7 GHz
- 3x Arm v8 Cortex® Up to 2.4GHz
- Onboard LPDDR5 8GB, 8533MT/s memory
- 1x MIPI-DSI x4, 1x DP and 1x eDP1.4 for Displays
- 1x USB3.2 Gen1, 1x USB2.0, 2x PCIe Gen3.0 x1, 2x I2S, 2x 4wire UART, 1x SPI,16x GPIO, 2x I2C, 6x PWM, 2x MIPI-CSI x4
- 1x UFS, 1x eMMC and 1x 4-bit SDIO for storages
- Support Windows 11 and Ubuntu
產品官網連結(Product information Link)
ROM-2860
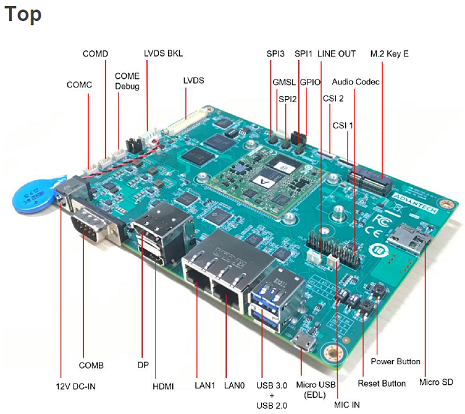
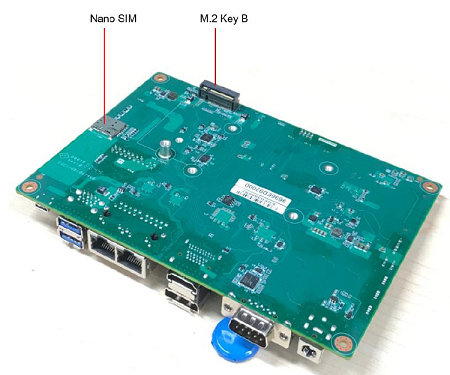
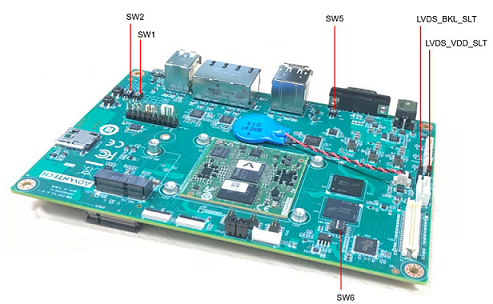
接口布局和尺寸(Layout and Sizes)
ROM-ED 接口布局圖 Board Dimension Layout
SW1
- SW1(1-off,2-on) : eMMC boot
- SW1(1-on,2-on) : UFS boot
SW2
- SW2(1-on): Forced Recovery
- SW2(1-off): Normal Boot
- SW2(2-on): AT mode
- SW2(2-off):ATx mode
SW6
主板内置插针式引脚排序方式 (Pin Header defination)
Internal I/O, Jummper/Switch List:
| Position | Description |
快速入門 (Quick Start)
系统下载 (OS Download)
- 'Linux系统 (Linux OS)'
Ubuntu 20.04 :
Recovery & Rescue 燒錄方法 (Recovery & Rescue method)
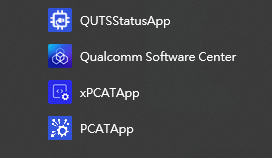
1. Download the Qualcomm Software Center
2. Open the Qualcomm Software Center
3. Search "PCAT" in the search bar
4. Click Qualcomm® Product Configuration Assistant Tool
5. Select Qualcomm® Product Configuration Assistant Tool version
Version: 2.33.2.119
6. Install Qualcomm® Product Configuration Assistant Tool 2.33.2.119
7. Search "QUTS" in the search bar
8. Click the Qualcomm® Unified Tools Services
9. Select Qualcomm® Unified Tools Services version
Version : 1.75.2.9
10. Install Qualcomm® Unified Tools Services 1.75.2.9
11. You will find the new application in your Windows system .
12. Unzip the UFS File and eMMC File
For example :
2860A1AIM37UIV10084_2024-08-08_ufs_debug.tgz
2860A1AIM37UIV10084_2024-08-08_emmc_debug.tgz
13 Connect your device via Micro USB.
Reformat
For confirmation, we will erase the partition before UFS and eMMC installation.
2. Add the prog_firehose_ddr.elf and provision_ufs31.xml in UFS folder.
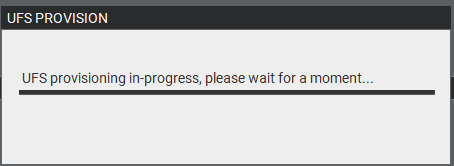
3. Then press "OK" , it will start to do USF Provision.
4. When the Provision finished , you can see the result in message window.
Flash UFS
1. Change the SW1 and SW2
Flash UFS: the SW1 switch to 1-on, 2-on Forced Recovery : The SW2 switch to 1-on ,2 - on .
2. Turn on the power
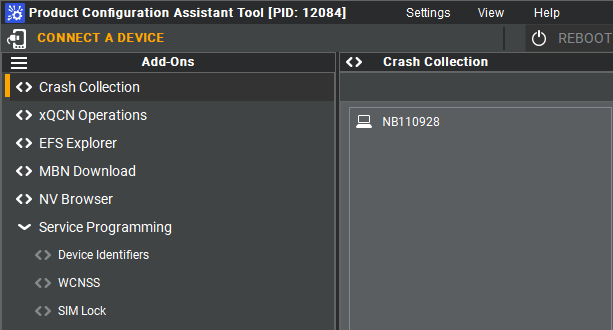
3. Open " PCATApp" Tool
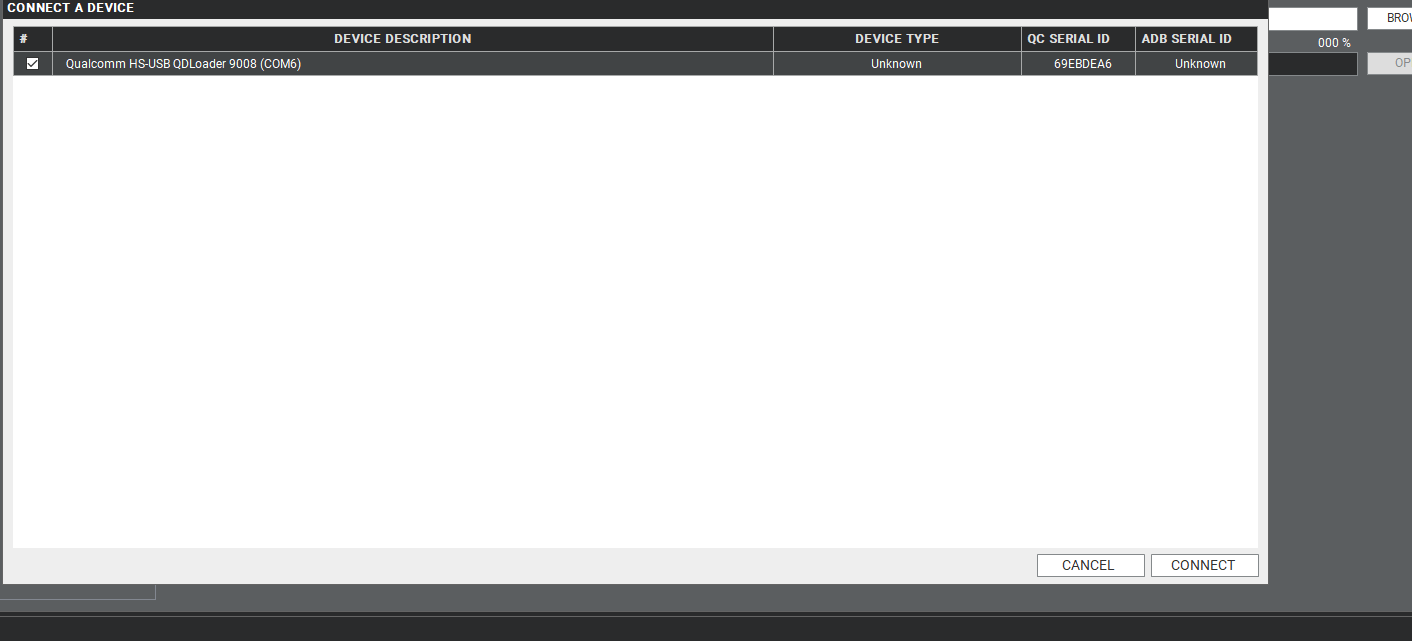
4. Click " Connect A Device"
5. Select "Qualcomm HS-USB QDLoader 9008 (COM6)
6. Click " Connect " device
7. When you connected successfully , it will show "qreen word" - Qualcomm HS-USB QDLoader 9008 (COM 6)
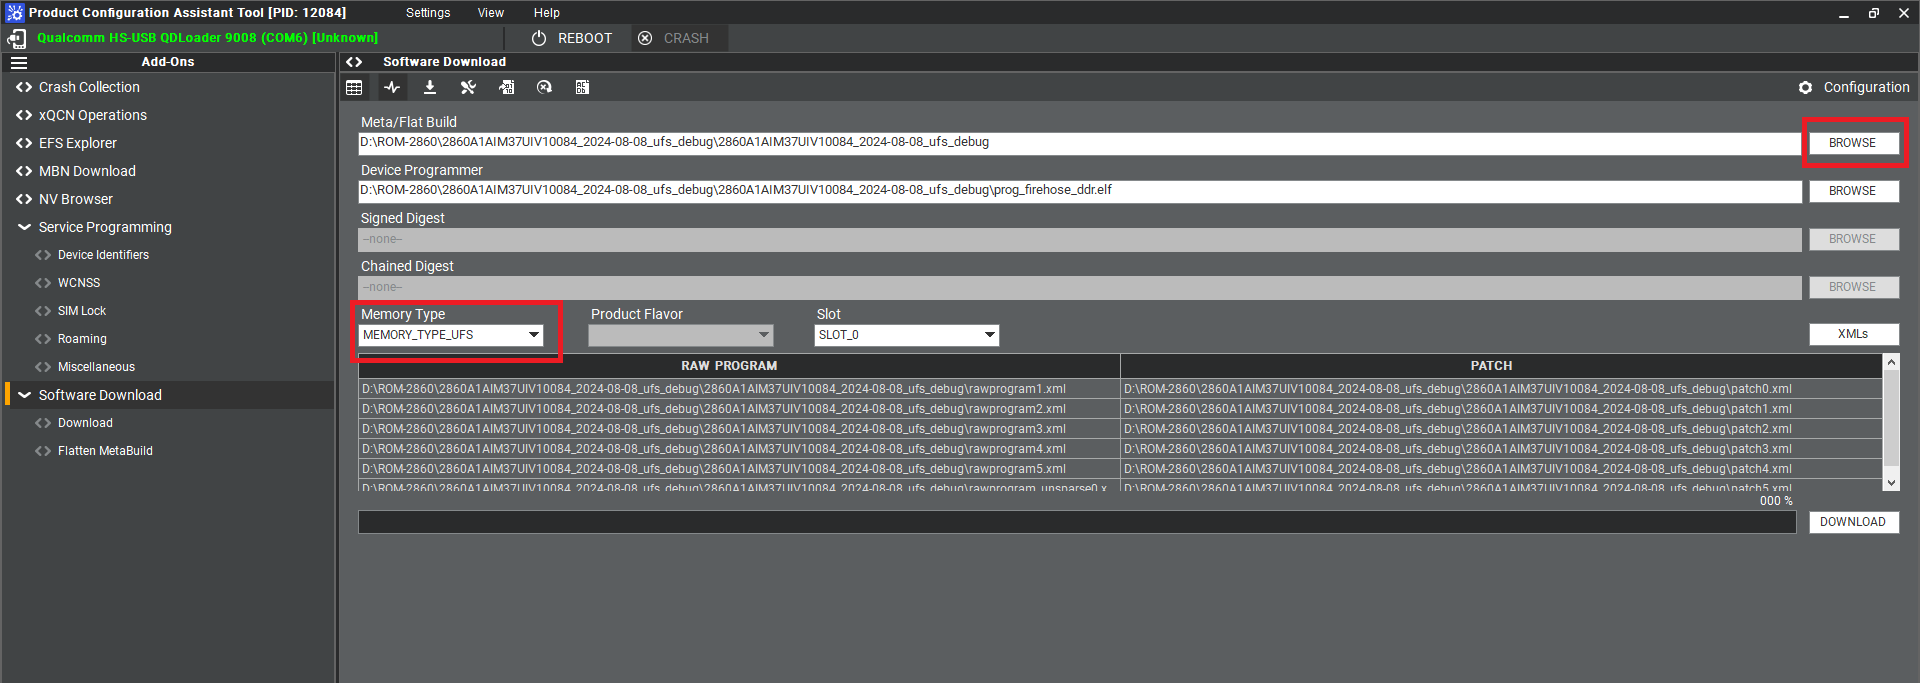
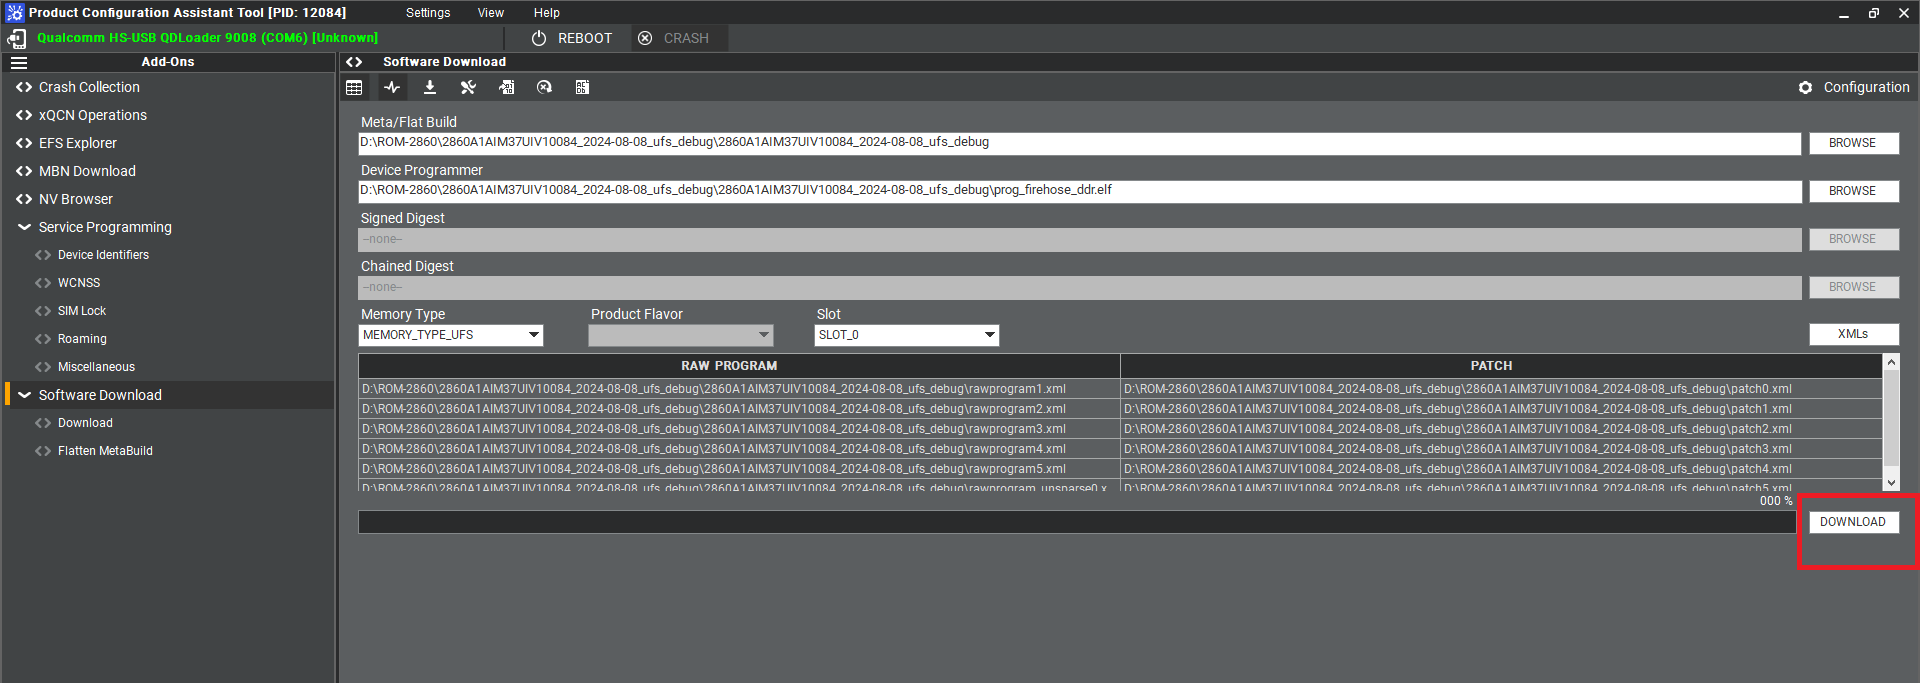
8. Select UFS Folder in PCAT Tool , the Tool will help load Files automatically and Select "MEMORY_TYPE_UFS"
9. Click " Download"
10. UFS Download Status
12. When you finish the download process , please change the switch.
Flash UFS: the SW1 switch to 1-off, 2-off Forced Recovery : The SW2 switch to 1-on ,2 - on .
Flash eMMC
1. Turn off the Power
2. Change the SW1 and SW2
Flash eMMC: the SW1 switch to 1-off, 2-on Forced Recovery : The SW2 switch to 1-on ,2 - on .
3. Turn on the power
4. Make sure the device connection status.
5. If the device disconnect with PCAT Tool , please connect it again.
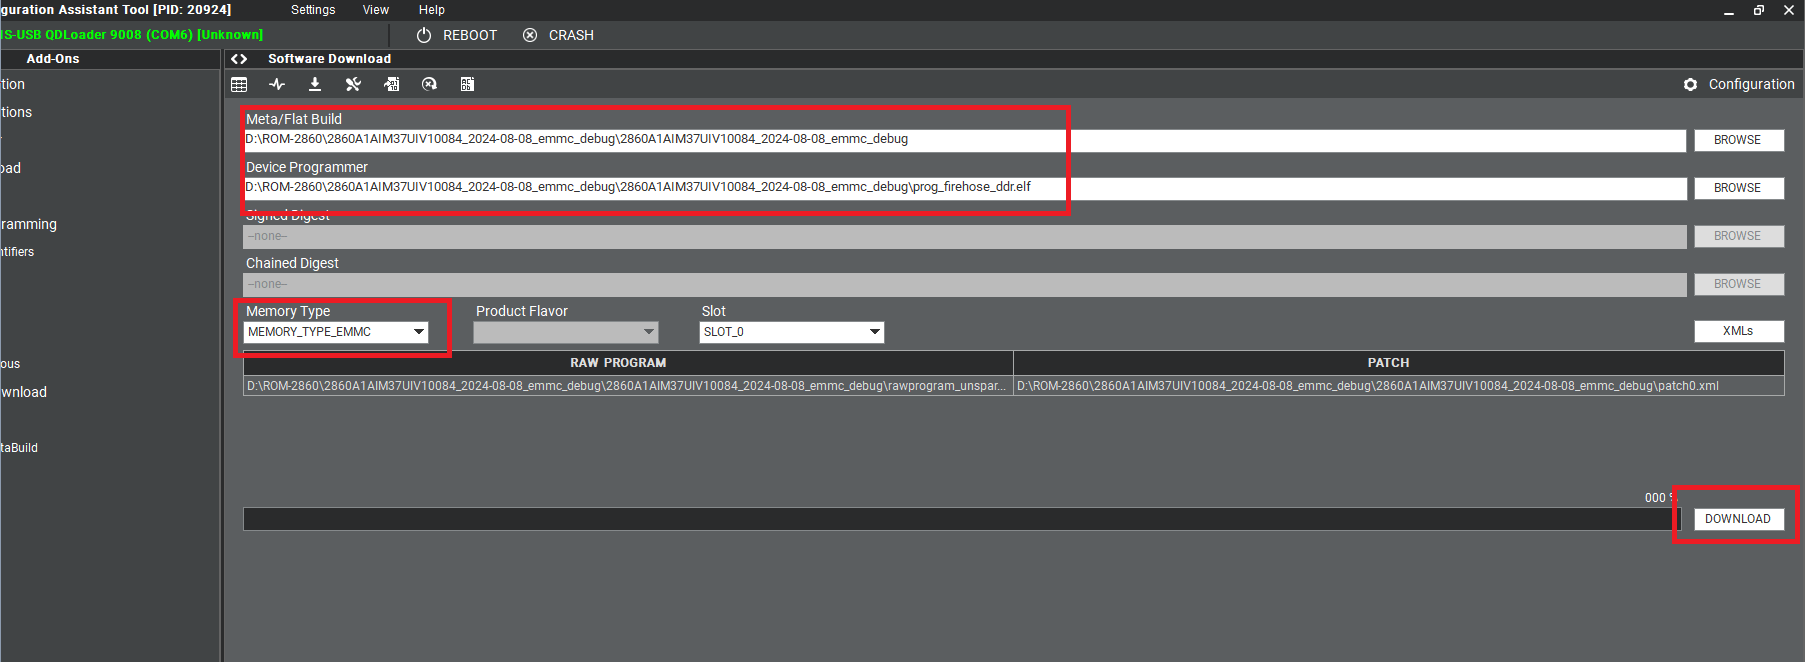
6. Select eMMC Folder.
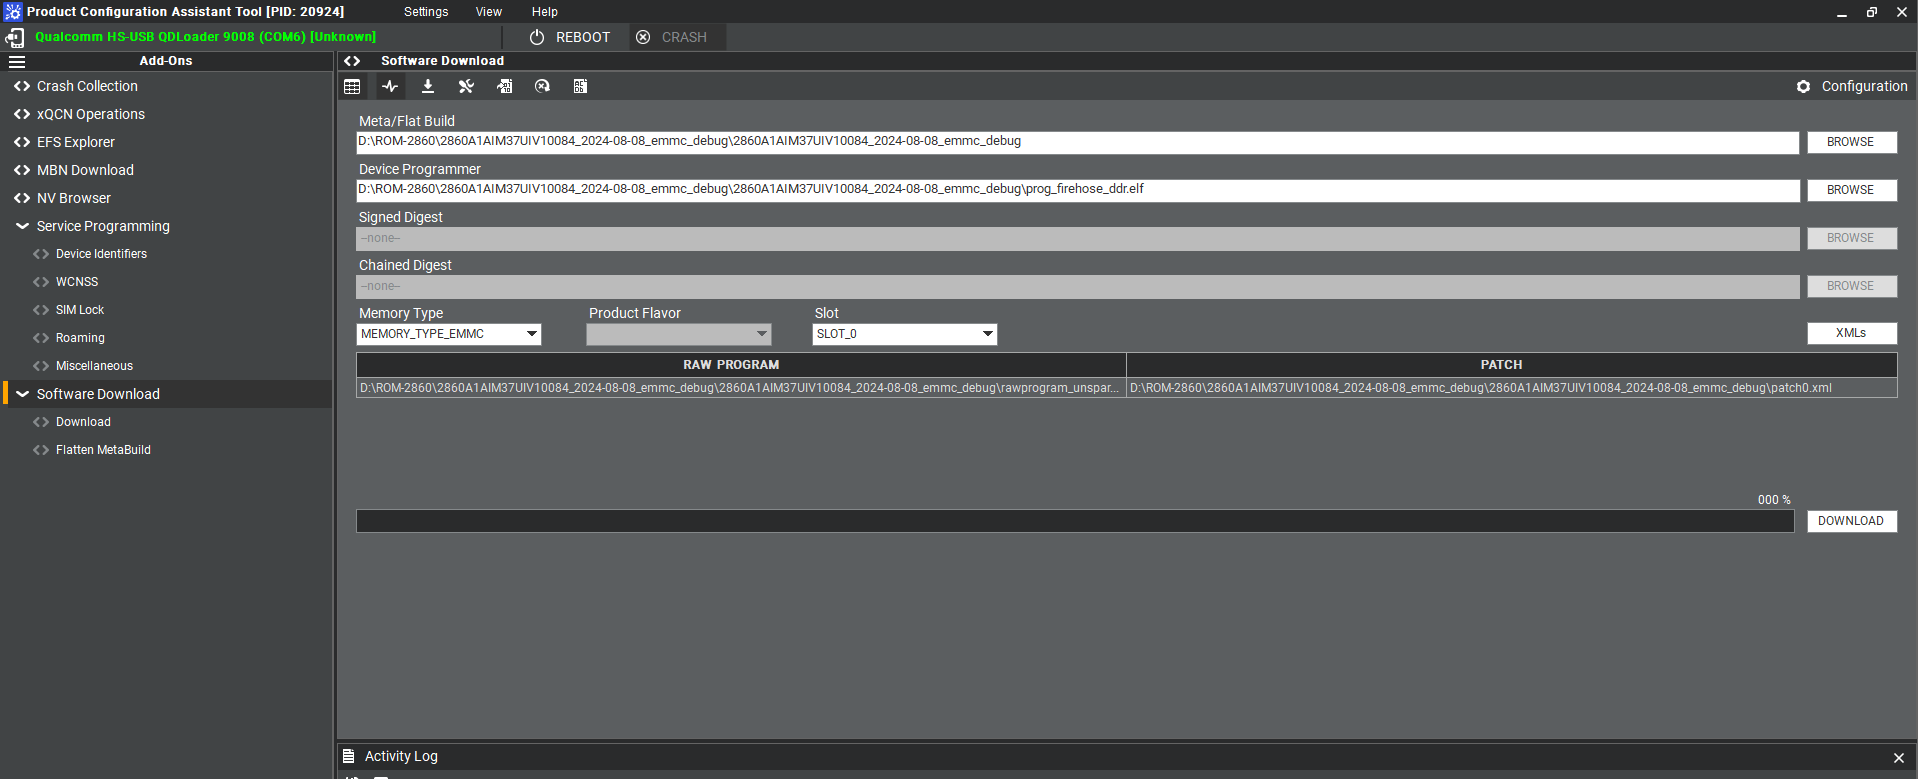 7. Make sure the setting ,then press " Download " button.
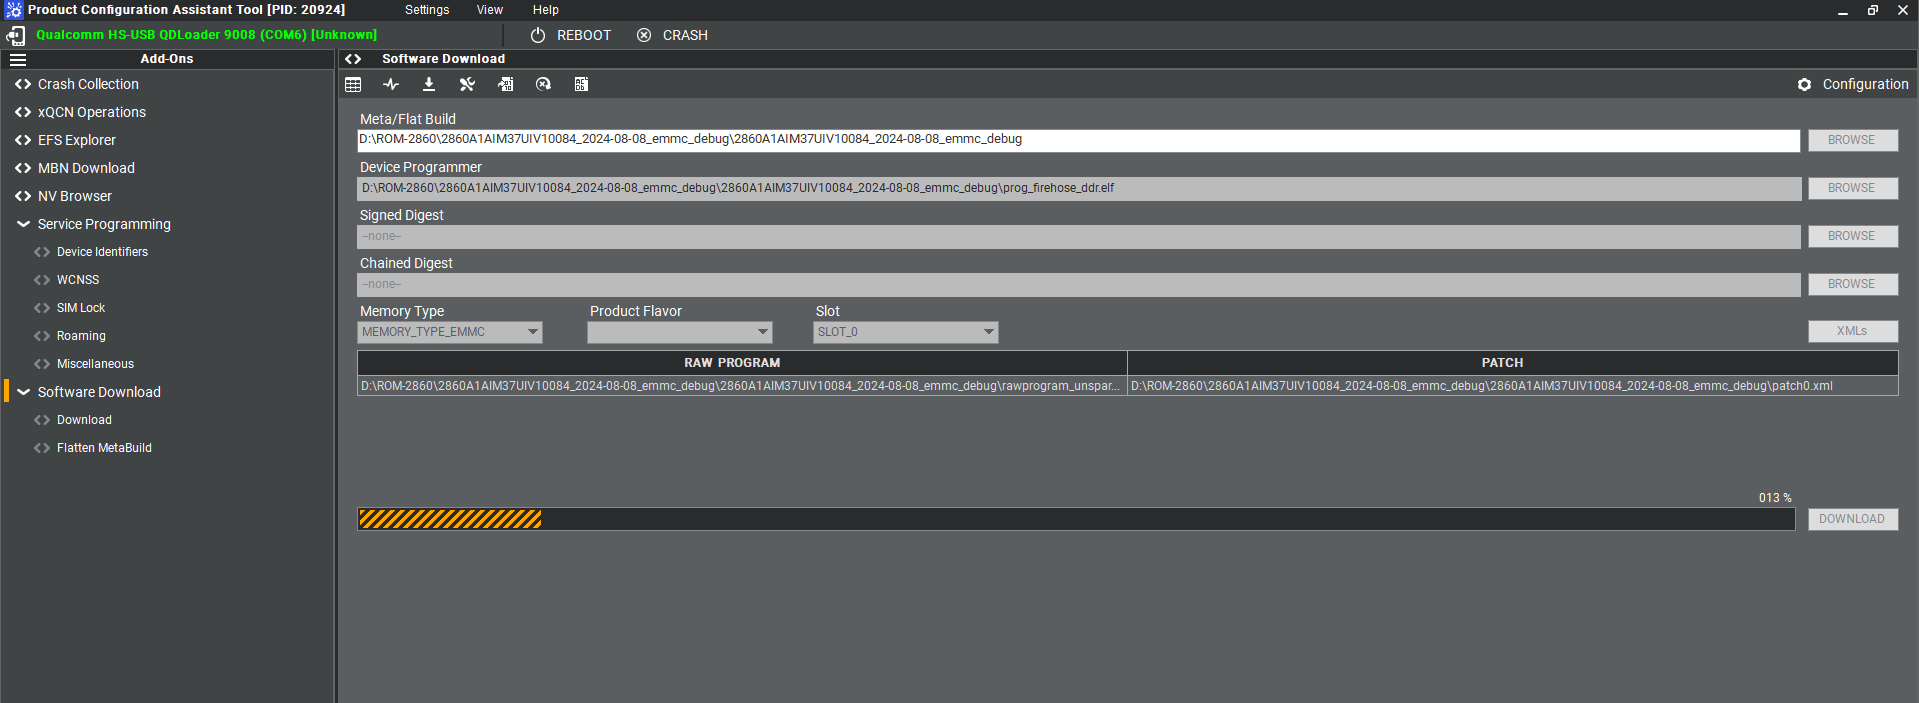
8. eMMC downlaoad status
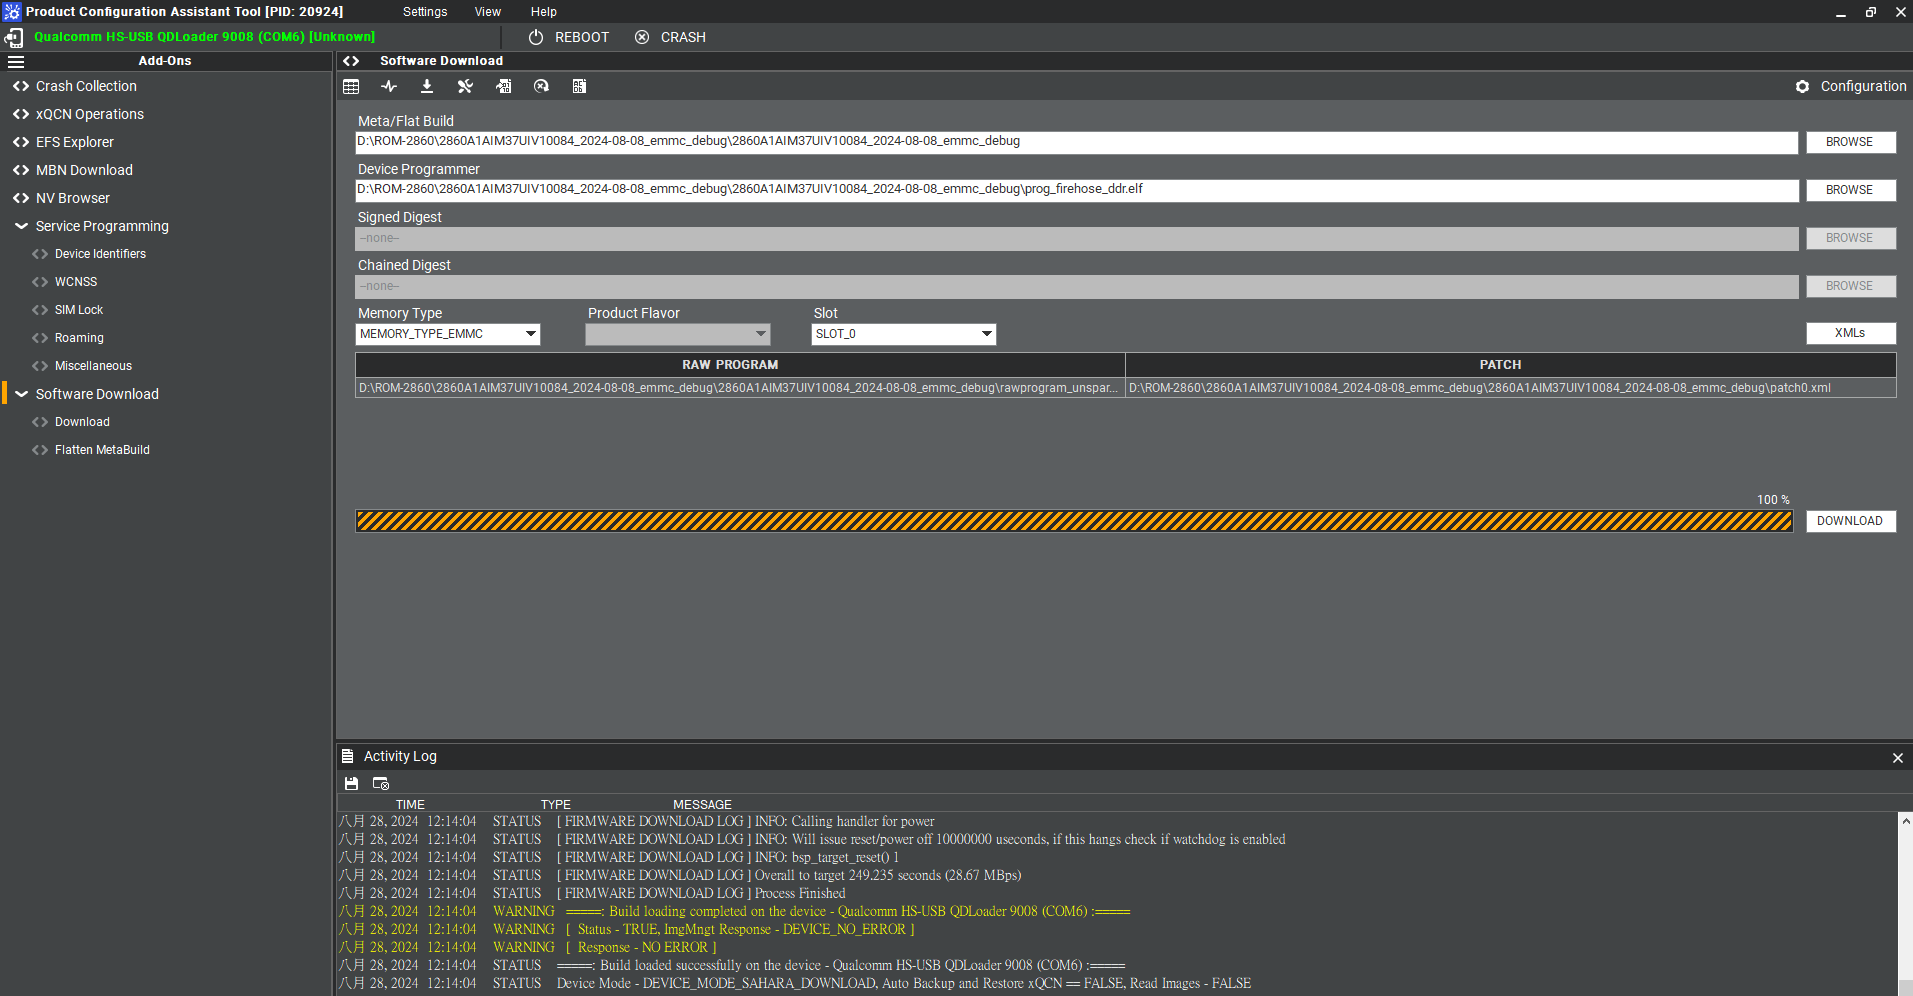
' 9. eMMC D'onwload compeleted
10. When the eMMC installation finished . Close the PCAT tool ,
11 pleaes remove the mirco usb cable, turn off the power
12. eMMC boot up : SW1 switch to 1-off, 2-on Forced Recovery : The SW2 switch to 1-off ,2 - on .
13. Connect debug cable and open the terminal , turn on the power .
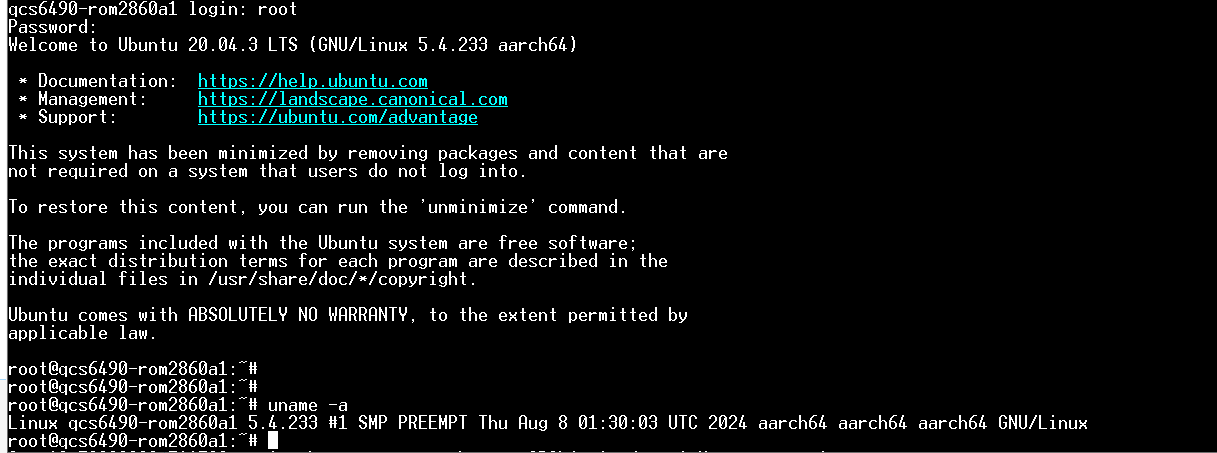
14. If you have done " Reformat " , the message will show " DDR: Start of DDR Training Init "
15. When the systme boot up , you need to type " qcs6490-rom2860a1 login: root " , " Password: oelinux123"
16. After type the long in and password , and you also can chek the image information about date , kernel version etc..
Fastboot
- Micro USB: ROM-ED92 USB0
Connect the ROM-ED92 USB0 to host computer and set the Micro USB to peripheral mode.
# echo "peripheral" > /sys/devices/platform/soc/a600000.ssusb/mode
Enter the fastboot mode
adv@adv-desktop:~$ adb devices
List of devices attached
2e8c656e        device

adv@adv-desktop:~$ adb root
restarting adbd as root

adv@adv-desktop:~$ adb reboot bootloader

adv@adv-desktop:~$ fastboot devices
2e8c656e        fastboot
Use the fastboot to flash the kernel boot image
adv@adv-desktop:~$ fastboot flash boot_a qti-ubuntu-robotics-image-qcs6490-odk-boot.img
target reported max download size of 805306368 bytes
sending 'boot_a' (24420 KB)...
OKAY [  0.790s]
writing 'boot_a'...
OKAY [  0.144s]
finished. total time: 0.935s

adv@adv-desktop:~$ fastboot flash boot_b qti-ubuntu-robotics-image-qcs6490-odk-boot.img
target reported max download size of 805306368 bytes
sending 'boot_b' (24420 KB)...
OKAY [  0.827s]
writing 'boot_b'...
OKAY [  0.133s]
finished. total time: 0.960s
Use the fastboot to flash the kernel dtbo image
adv@adv-desktop4:~$ fastboot flash dtbo_a dtbo.img
target reported max download size of 805306368 bytes
sending 'dtbo_a' (12330 KB)...
OKAY [  0.427s]
writing 'dtbo_a'...
OKAY [  0.070s]
finished. total time: 0.497s

adv@adv-desktop4:~$ fastboot flash dtbo_b dtbo.img
target reported max download size of 805306368 bytes
sending 'dtbo_b' (12330 KB)...
OKAY [  0.422s]
writing 'dtbo_b'...
OKAY [  0.061s]
finished. total time: 0.483s
通用方法(General Method)
查看CPU温度(Check CPU Temperature)
查看内存容量(Check Memory Capacity)
查看存储容量(Check Storage Capacity)
設置RTC (RTC Setting)
查看系統時間 (Check the system)
