Difference between revisions of "3. Using bootup sd disk made by SDDiskTool."
Yunjin.jiang (talk | contribs) |
Yunjin.jiang (talk | contribs) |
||
| Line 1: | Line 1: | ||
| − | + | Download AndroidTool_v2.65.rar and SDDiskTool_v1.56.zip | |
| − | + | ||
| − | + | Android 7.1: | |
| − | + | ||
| − | + | [https://github.com/ADVANTECH-Rockchip/rk3399_tools/tree/android_7.1.2_ks https://github.com/ADVANTECH-Rockchip/rk3399_tools/tree/android_7.1.2_ks] | |
| − | + | ||
| − | + | Debian 9.x : | |
| − | + | ||
| − | + | [https://github.com/ADVANTECH-Rockchip/linux_tools/tree/rk3399_linux_v231_risc https://github.com/ADVANTECH-Rockchip/linux_tools/tree/rk3399_linux_v231_risc] | |
| − | + | ||
| − | + | '''Step 1 : '''Using AndroidTool to create update.img | |
| − | + | ||
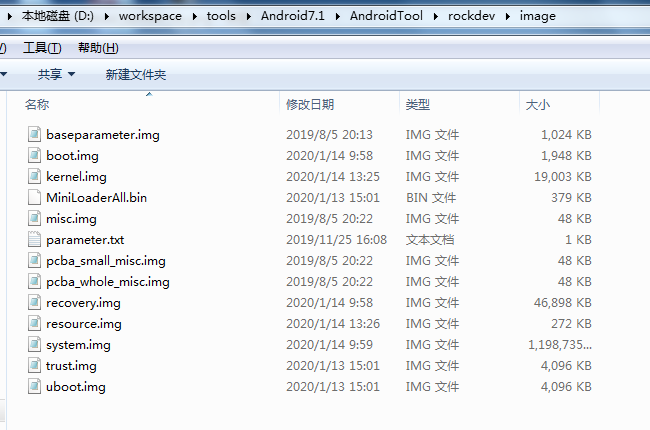
| − | + | 1. Put image to AndroidTool\rockdev\image. | |
| − | + | ||
| − | + | [[File:Rk3399 androidtool update zip.png]] | |
| − | + | ||
| − | + | 2. Double click mkupdate.bat. in AndroidTool\rockdev. | |
| − | + | ||
| − | + | [[File:Rk3399 androidtool make update zip.png]] | |
| − | + | ||
| − | + | Then you can find update.img in AndroidTool\rockdev. | |
| − | + | ||
| − | + | '''Step 2 : ''' Create update SD (Red word). | |
| − | + | ||
| − | + | Step1 Choose the SD device. | |
| − | + | ||
| − | + | Step2 Choose the "firmware update" | |
| − | + | ||
| + | Step3. Choose the update.img path | ||
| + | |||
| + | Step4. Create the update SD | ||
| + | |||
| + | [[File:Sd tool.jpg]] | ||
| + | |||
| + | Create the Update SD card Success | ||
| + | |||
| + | [[File:Sd tool success.jpg]] | ||
| + | |||
| + | '''Step 3 : '''Please power off in RSB4710. | ||
| + | |||
| + | '''Step 4 : ''' Insert the SD card. | ||
| + | |||
| + | '''Step 5 : '''Power on in RSB4710. | ||
| + | |||
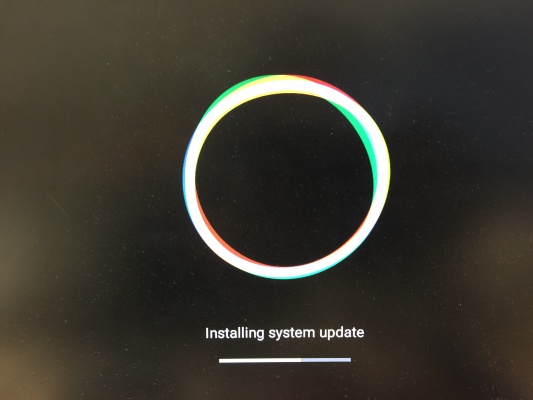
| + | '''Step 6 : '''Installing system update | ||
| + | |||
| + | [[File:UPDATE.JPG|600x400px]] | ||
| + | |||
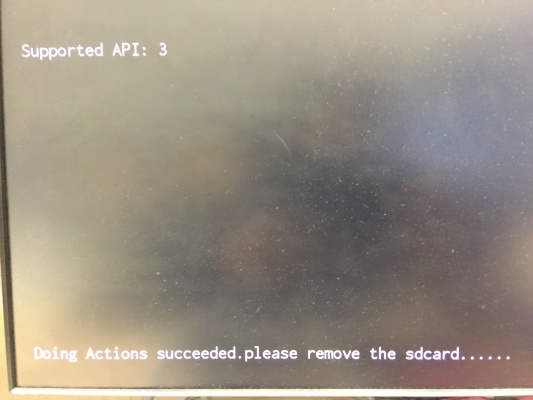
| + | '''Step 7 : '''Please Remove the SD Card when RSB4710 show the message "Doing Action succeeded. please remove the sdcard......". | ||
| + | |||
| + | [[File:REMOVE SD.JPG|600x400px]] | ||
| + | |||
| + | '''Step 8 : '''Remove SD card then Reset RSB4710. | ||
Revision as of 05:31, 7 July 2020
Download AndroidTool_v2.65.rar and SDDiskTool_v1.56.zip
Android 7.1:
https://github.com/ADVANTECH-Rockchip/rk3399_tools/tree/android_7.1.2_ks
Debian 9.x :
https://github.com/ADVANTECH-Rockchip/linux_tools/tree/rk3399_linux_v231_risc
Step 1 : Using AndroidTool to create update.img
1. Put image to AndroidTool\rockdev\image.
2. Double click mkupdate.bat. in AndroidTool\rockdev.
Then you can find update.img in AndroidTool\rockdev.
Step 2 : Create update SD (Red word).
Step1 Choose the SD device.
Step2 Choose the "firmware update"
Step3. Choose the update.img path
Step4. Create the update SD
Create the Update SD card Success
Step 3 : Please power off in RSB4710.
Step 4 : Insert the SD card.
Step 5 : Power on in RSB4710.
Step 6 : Installing system update
Step 7 : Please Remove the SD Card when RSB4710 show the message "Doing Action succeeded. please remove the sdcard......".
Step 8 : Remove SD card then Reset RSB4710.


