Difference between revisions of "Modbus Service"
| Line 218: | Line 218: | ||
} | } | ||
</pre> | </pre> | ||
| − | |||
| − | |||
| − | |||
| − | |||
Revision as of 04:53, 7 May 2018
Contents
Installation
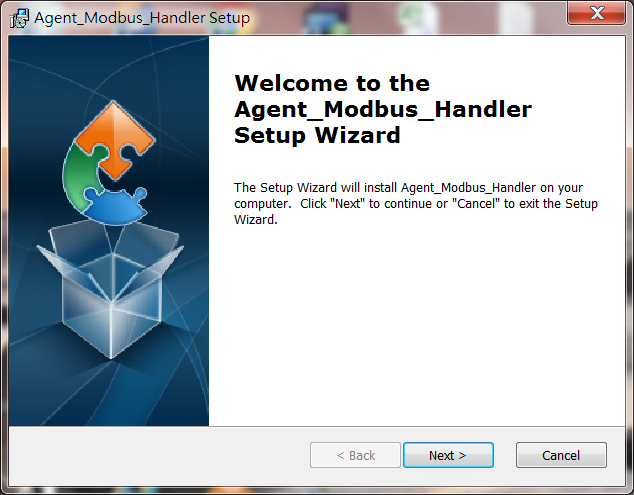
1. Double click Agent_Modbus_Handler_2.0.0.exe to start installation.
2. Click "Next" on the Welcome screen.
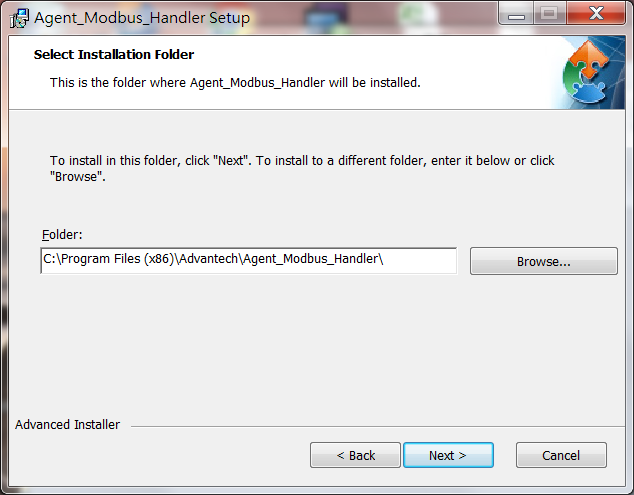
3. Select Installation Folder and then click "Next" to continue.
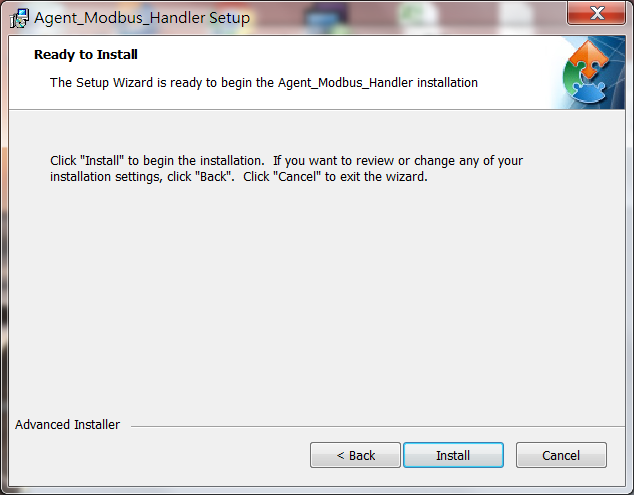
4. Click "Install" on the Ready to Install screen to continue.
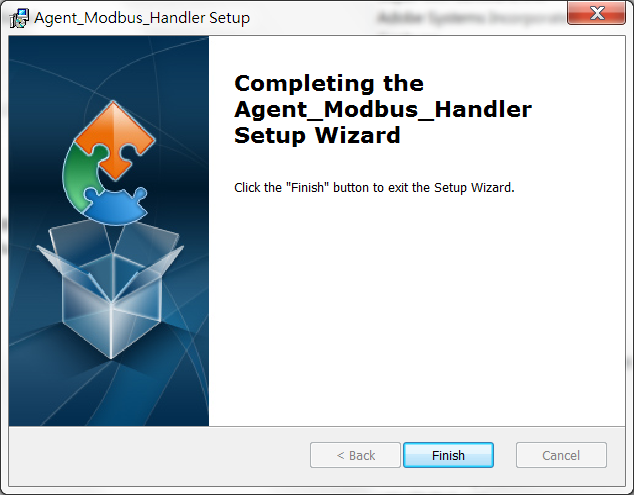
5. Installation completed, click "Finish" button to exit the Setup Wizard.
Configuration
1. Open File Explorer and change target folder to the Modbus Service installation folder.
2. Open and edit the file Mobus_Handler.ini
2.1 Give a Name for the platform.
2.2 Set the Protocol.
For the modbus TCP devices:
Protocol=Modbus_TCP
ClientIP=(IP address of Modbus TCP devices)
ClientPort=(Port of Modbus TCP devices)
Example:
<span style="font-size:larger;">[Platform]
Name=WISE-4012E
Protocol=Modbus_TCP
ClientIP=127.0.0.1
ClientPort=502

Interval=3
#Interval: The time delay between two modbus access round in second.
Delay=0
#Delay: The time delay between two modbus access in millisecond.
#Delay=0 means no delay.
Log=0
</span>
For the modbus RTU devices:
Protocol=Modbus_RTU
SlavePort=(The serial port's device node of the gateway which connect to Modbus RTU devices)
Baud=(The baud rate of the serial port)
Parity=(The parity of the serial port)
DataBits=(The data bits of the serial port)
StopBits=(The stop bits of the serial port)
Example:
<span style="font-size:larger;">[Platform]
Name=EKI-XXXX
Protocol=Modbus_RTU
SlavePort=COM1
Baud=19200
Parity=None
DataBits=8
StopBits=1

Interval=3
#Interval: The time delay between two modbus access round in second.
Delay=0
#Delay: The time delay between two modbus access in millisecond.
#Delay=0 means no delay.
Log=0
</span>
2.3 Set the number of modbus devices and device detail information file.
Device0 Example:
<span style="font-size:larger;">[DeviceInfo]
Name=Modbus_Device0

# For Modbus_TCP
UnitID=1

# For Modbus_RTU
#SlaveID=1

[Coils]
numberOfB=3
B0=0,LED0
B1=1,LED1
B2=2,LED2</span><span style="font-size:larger;">
</span>
Device1 Example:
<span style="font-size:larger;">[DeviceInfo]
Name=Modbus_Device1

# For Modbus_TCP
UnitID=2

# For Modbus_RTU
#SlaveID=2

[Discrete Inputs]
numberOfIB=3
IB0=0,Switch0
IB1=1,Switch1
IB2=2,Switch2</span>
<span style="font-size:larger;"></span><span style="font-size:larger;">
</span>
EdgeSense Linux Docker version
How to config Modbus Service and Restart Service
$cd ${Installed path}/Installer/packages/Plugins/docker-edgesense-image-x86/EdgeSense/EService-Modbus/config
$sudo vim Modbus_Handler.ini
$sudo docker restart service-modbus
JSON Format for upload data
{
   "Modbus_Handler":{
      "Platform":{
         "bn":"Platform",
         "e":[{"n":"Version","sv":"2.0.0"},
              {"n":"Description","sv":"This service is Modbus Service"},
              {"n":"Protocol","sv":"Modbus_TCP"},
              {"n":"Name","sv":"WISE-4012E"},
              {"n":"ClientIP","sv":"127.0.0.1"},
              {"n":"ClientPort","sv":"502"},
              {"n":"Connection","bv":true}]
      },
      "Modbus_Device0":{
         "bn":"Modbus_Device0",
         "e":[{"n":"UnitID","sv":"1"}],
         "Coils":{
            "bn":"Coils",
            "e":[{"n":"LED0","bv":true},
                 {"n":"LED1","bv":true},
                 {"n":"LED2","bv":false}]
         }
      },
      "Modbus_Device1":{
         "bn":"Modbus_Device1",
         "e":[{"n":"UnitID","sv":"2"}],
         "Discrete Inputs":{
            "bn":"Discrete Inputs",
            "e":[{"n":"Switch0","bv":false},
                 {"n":"Switch1","bv":true},
                 {"n":"Switch2","bv":false}]
         }
      }
   }
}


