OPC-UA Client
Introduction
OPC Unified Architecture (OPC UA) is a machine to machine communication protocol for industrial automation developed by the OPC Foundation.
Features
EdgeSense OPC-UA Client aims to collect data from OPC-UA Server and control.
Feature:
- Connection with multiple OPC-UA server and multiple Node ID.
- Support anonymous authentication, username/password authentication.
- Support individual node data update interval of subscription.
- Configurable node alias.
- Currently support up-link OPC-UA data to WISE-PaaS , not support down-link from WISE-PaaS.
- Detailed features, please see https://docs.google.com/spreadsheets/d/1hxUJgHvcPYq8f44gmVVmwUCddHhOPBflSRkSKR0H9Q4/edit?ts=5ca2bfc9#gid=348272669
How to
Software Requirements
- MQTT broker
- .NET Framework 4.6 or above (Note, Windows 10 have already built-in .NET Framework 4.6)
Installation
Windows:
1. Download OPC-UA Client for Windows from Release Table.
2. Double click the installer to launch the installer to install it to the machine.
Debian:
1. Download OPC-UA Client for Debian from Release Table.
2. Launch the installer to install it to the machine.
Configuration
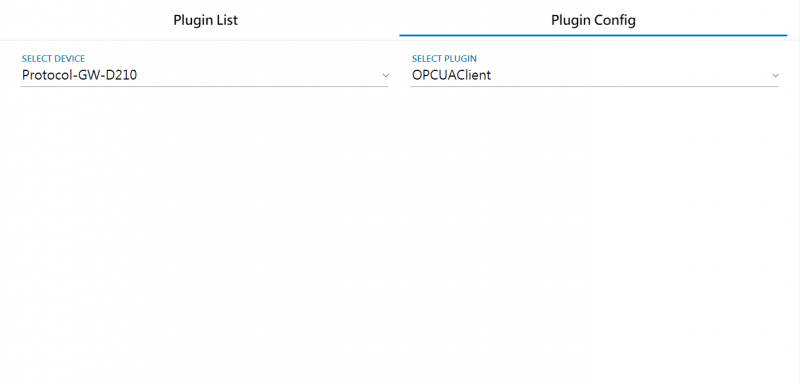
Step 1. Go to "Plug-ins" / Plugin Config to select OPCUAClient Plug-in
Setp 2. Click "+" to add OPCUA project
Template:Https://i.imgur.com/uNA2oIS.png
Setp 3. Edit new OPCUA Project
Template:Https://i.imgur.com/4nAWV6Z.png
 * PROJECT NAME: Enter a project name in unique
 * ENDPOINT URL: Endpoint URL of OPCUA Server
Template:Https://i.imgur.com/N19A761.png
 * SECURITY MODE: None / Sign
 * USER NAME: Account of OPCUA Server
 * PASSWORD: Password of OPCUA Server
Setp 4. Click "+" to add Sensor Node
Template:Https://i.imgur.com/bgenwaL.png
Step 5. Edit Node Information
Template:Https://i.imgur.com/UeyMgDP.png
 * NODEID: Node ID you'd like to monitor.
 * NODENAME: Node name you'd like to show
 * INTERVAL(SEC): Subscribe/update interval in seconds
Step 6. Click "+" to add multiple nodes
Template:Https://i.imgur.com/BlLUlTV.png
Step 7. Click {{:./img/opcua-config-E03-edit.png}} to delete or edit sensor node info
Template:Https://i.imgur.com/jDMeU3E.png
Step 8. Click "Save" to complete node editing.
Template:Https://i.imgur.com/qYQ76Qq.png
Setp 9. Click "Apply" to set and apply the new setting
Template:Https://i.imgur.com/4A88VkH.png
Setp 10. You can monitor OPCUA sensor nodes at "Plugin List".
Template:Https://i.imgur.com/9TEBrJF.png
<html>
</html>
How to import plugin settings
Step 1. Click Import button from OPCUAClient Configuration
Template:Https://i.imgur.com/YngfFAe.png
Step 2. Select target file you like to import
Template:Https://i.imgur.com/4M3dBVW.png
Import successful
Template:Https://i.imgur.com/V5bZgSz.png
Step 3. Click APPLY to use imported configuration
Template:Https://i.imgur.com/R6EsxAJ.png
<html>
</html>
How to export plugin settings
Step 1. Click Export button from OPCUAClient Configuration
Template:Https://i.imgur.com/cy8mrSR.png
Step 2. Explore the exported file
Template:Https://i.imgur.com/D1OvcOS.png
How to use RESTful API to get history data
<html>
</html>
Example:
http://172.22.12.84:8080//rmm/v1/data/devices/histdata?plugin=OPCUAClient&sensorId=/OPCUA-01/Node/Temperature&beginTs=2022-01-21%2017:30:00.000&endTs=2022-01-21%2017:35:00.000 Template:Https://i.imgur.com/fqD2QRq.png <html>
</html>
Use case
Building Automation Server
 - Download Unified Automation C++ Demo Server from [link] and install it to the server machine.
 - Launch UaCppServer from Windows Start Menu.
Template:Https://i.imgur.com/POK0jrK.png
Template:Https://i.imgur.com/g2edrDg.png
<HTML>
- </HTML> <HTML>
- </HTML>Config OPCUAClient plugin as upper steps to complete the settings.<HTML>
- </HTML><HTML>
</HTML>
Demonstration
Connect a Unified Automation C++ Demo Server
1. Download Unified Automation C++ Demo Server from https://www.unified-automation.com/downloads/opc-ua-servers.html and install it to the server machine.
2. Launch UaCppServer from Windows Start Menu.
3. Config OPC-UA Client to connect to the Unified Automation C++ Demo Server, Username/Password, Endpoint URL and Node IDs are shown in below.
| Username | Password |
| root | secret |
| Endpoint URL Format | opc.tcp://<Mancine Name or IP>:<Port> |
| Endpoint URL for this Demo |
opc.tcp://Protocol-Converter-GW:48010 |
| Node Nmae | Node ID |
| AirConditioner_1.Humidity |
ns=3;s=AirConditioner_1.Humidity |
| AirConditioner_1.Temperature |
ns=3;s=AirConditioner_1.Temperature |
| AirConditioner_2.Humidity |
ns=3;s=AirConditioner_2.Humidity |
| AirConditioner_2.Temperature |
ns=3;s=AirConditioner_2.Temperature |
4. Edit opcua-client.json to set up client configuration, for example:
{
    "OPCUA_Server":[
        {
            "Name": "OPCUA-UACPP-SERVER",
            "endpointUrl":"opc.tcp://Protocol-Converter-GW:48010",
            "userIdentity": {
                "userName": "root",
                "password": "secret"
            },
            "NodeIDList":[{"NodeId":"ns=3;s=AirConditioner_1.Humidity","Name":"AirConditioner_1.Humidity", "Type":"v", "Interval":2},
                          {"NodeId":"ns=3;s=AirConditioner_1.Temperature","Name":"AirConditioner_1.Temperature", "Type":"v", "Interval":2},
                          {"NodeId":"ns=3;s=AirConditioner_2.Humidity","Name":"AirConditioner_2.Humidity", "Type":"v", "Interval":2},
                          {"NodeId":"ns=3;s=AirConditioner_2.Temperature","Name":"AirConditioner_2.Temperature", "Type":"v", "Interval":2}
                        ]

        }
    ]
}
5. Restart device-opcua-client service from Windows Task Manager.
Release
This is an overview that displays OPC-UA Service versions and some stats and numbers for each release.
| Index | Version | Date | Platform | OS | Release Note | Installer |
| 1 | v2.0.1 |
2020/1/03 |
x86_64 CPU |
Windows |
1. Support Multiple OPCUA server. 2. Support Anonymous, Username/Password</span>security check. 3. Support individual node access interval configuration. 4. Configurable node alias.</span> |
device-opcua-client-2.0.1.exe |
| 2 | v2.0.1 |
Coming soon |
ARM CPU |
Debian |
1. Support Multiple OPCUA server. 2. Support Anonymous, Username/Password security check. 3. Support individual node access interval configuration. 4. Configurable node alias.</span></span> OPCUA_Client_for_Debian_ReleaseNote_2.0.1.txt |
device-opcua-client-2.0.1-Debian_9.9-rk3399.run |
| 3 | v2.0.2 |
2020/3/31 |
x86_64 CPU |
Windows |
1. Support Web UI configuration. 2. Use AdvSC to control service life cycle. |
device-opcua-client-2.0.2.exe |
| 4 | v2.0.3 |
Coming Soon |
x86_64 CPU |
Windows |
1. Support write node data. 2. Support read array type node data. |
device-opcua-client-2.0.3.exe |
Above files are available at local server, please paste file's url in File Explorer to copy file. (How to access to EOSSFS file server )

