2. Using bootup sd disk made by SDDiskTool.
From ESS-WIKI
Revision as of 10:31, 26 May 2023 by Xingxing.li (talk | contribs)
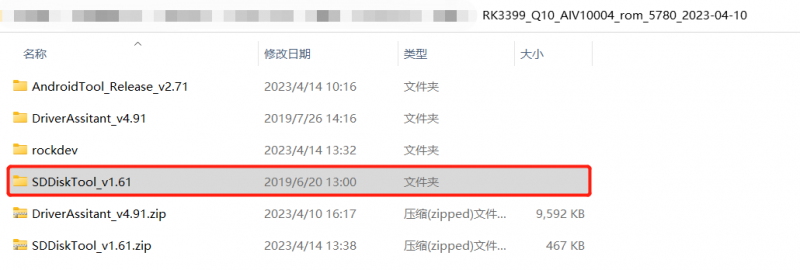
Step 1 : Using AndroidTool to create update.img
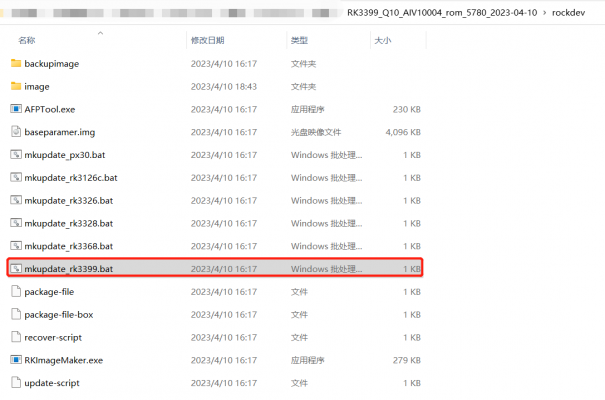
1. Put image to AndroidTool\rockdev\image.
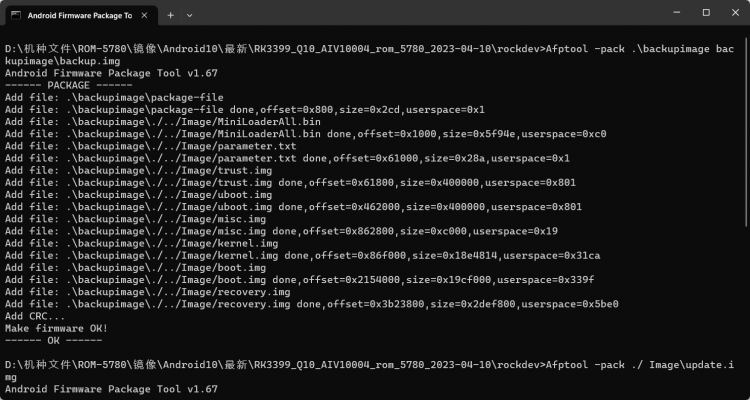
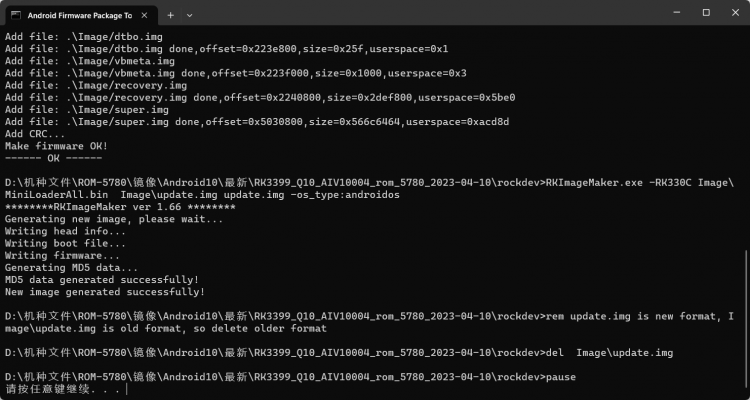
2. Double click mkupdate.bat. in AndroidTool\rockdev.
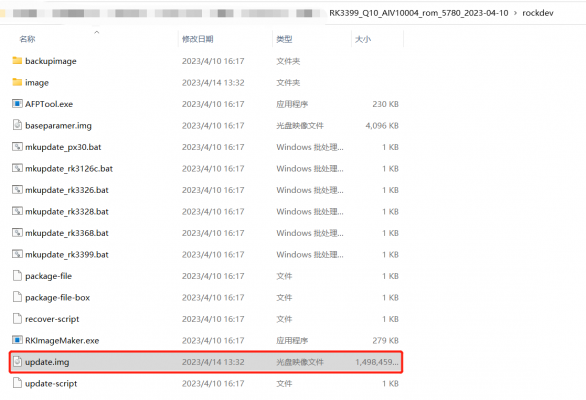
Then you can find update.img in AndroidTool\rockdev.
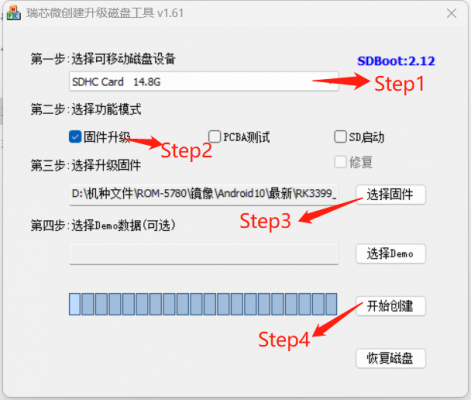
Step 2 : Create update SD (Red word).
Step1 Choose the SD device.
Step2 Choose the "firmware update"
Step3. Choose the update.img path
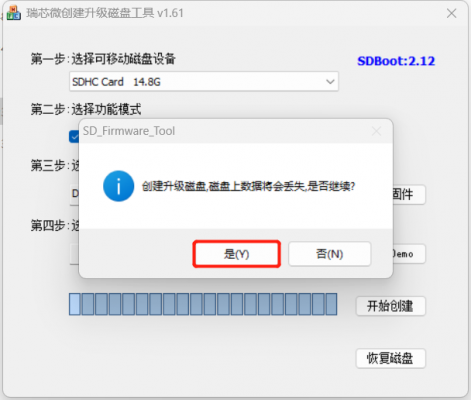
Step4. Create the update SD
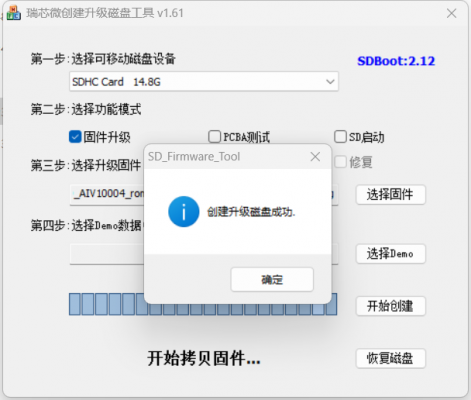
Create the Update SD card Success
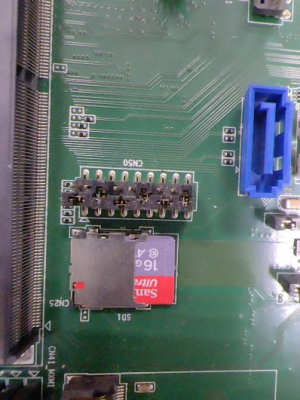
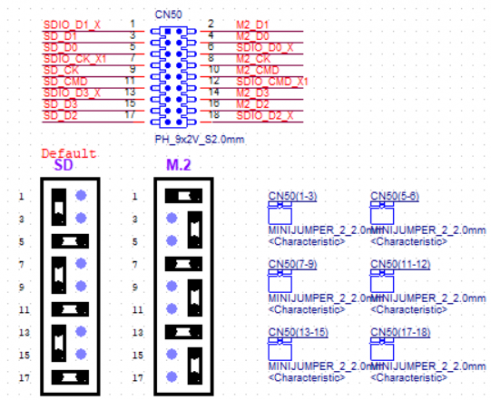
Step 3 : Insert the mirco sd card into SD1 of the ROM-DB5901 board
Step 4 :Power on in ROM-DB5901
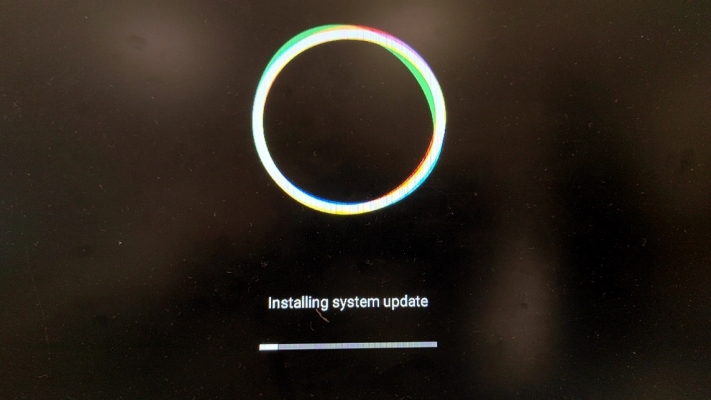
Step 5 : Installing system update
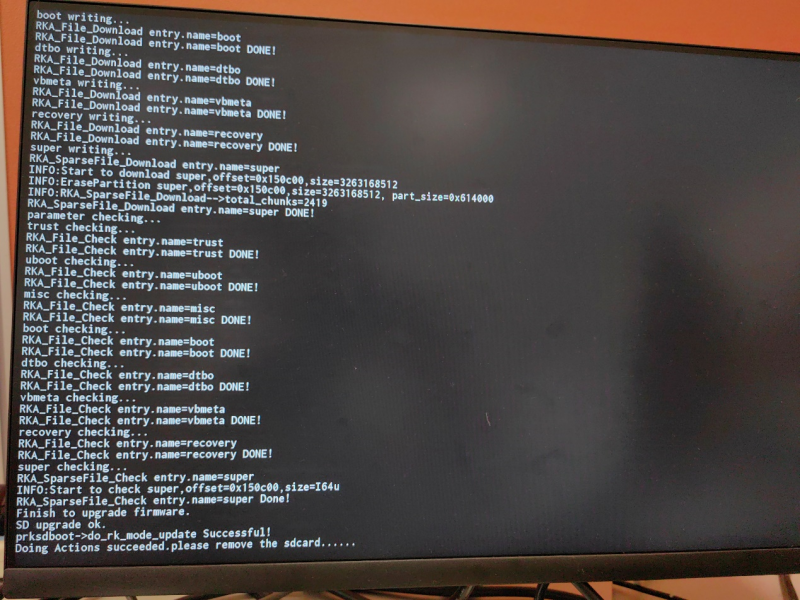
Step 6 : Please Remove the SD Card when ROM-DB5901 show the message "Doing Action succeeded. please remove the sdcard......".
Step 7:Remove DC-IN and SD card then ROM-DB5901.
