Using bootup sd disk made by SDDiskTool for new
From ESS-WIKI
New released images already included AndroidTool(or RKDevTool_Release)、USB Driver(DriverAssitant_vxxx.zip)and SDDisk Tool( SDDiskTool_vxxx.zip).
Step 1:
Then you can find update.img in AndroidTool\rockdev\image.
Step 2 : Create update SD (Red word).
Step1 Choose the SD device.
Step2 Choose the "firmware update"
Step3. Choose the update.img path
Step4. Create the update SD
Create the Update SD card Success
Step 3 : Please power off.
Step 4 : Insert the SD card.
Step 5 : Power on.
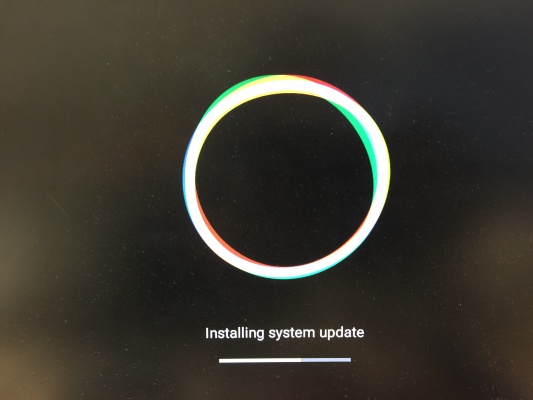
Step 6 : Installing system update
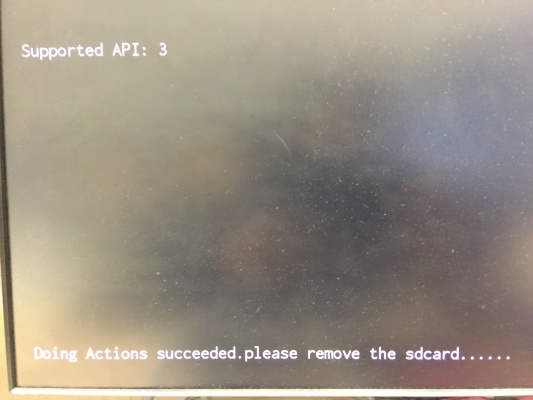
Step 7 : Please Remove the SD Card when board show the message "Doing Action succeeded. please remove the sdcard......".
Step 8 : Remove SD card then Reset.


